
Have you ever found yourself in the situation where you know roughly where you are on the map, but just can’t pinpoint your location? Here’s how to work out your position by triangulation, or resection, using a map and compass.
Image courtesy of Jean Baulch
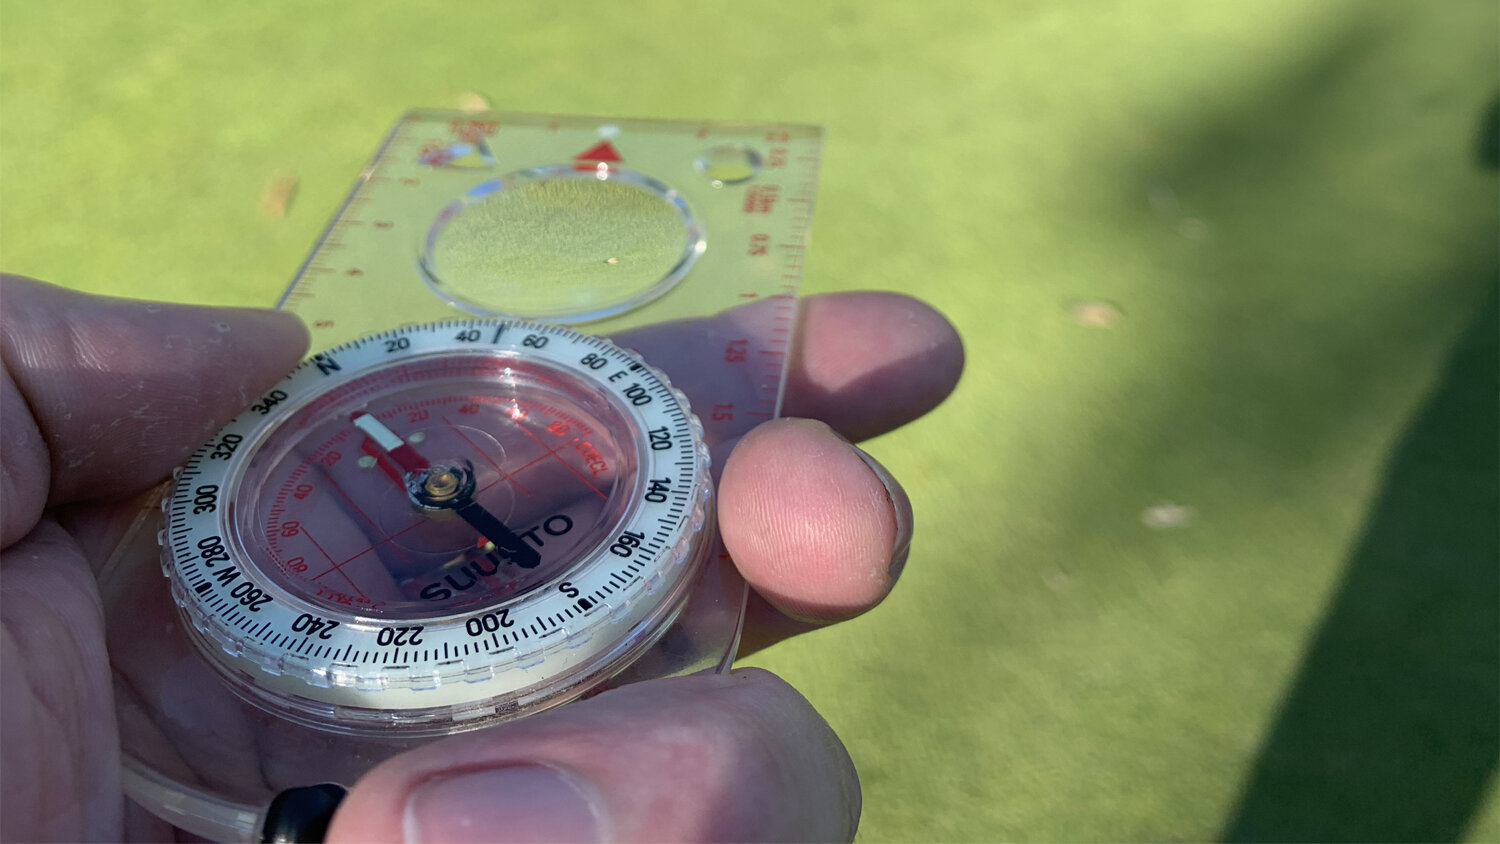
First you need to take the bearing of an identifiable landmark
Step 1: Scan the landscape to identify a landmark which has distinct features that you can recognise on the map.
Step 2: Hold the compass in front of you ensuring that it is level and away from metallic objects, and turn your body so that the direction of travel arrow points directly at the landmark.
Step 3: Rotate the circular bezel of the compass housing so that the red orienting arrow lines up with the red north end of the magnetic needle.
Step 4: Read the magnetic bearing, which is the number that is now lined up with the index line (an extension of the direction of travel arrow) at the outer edge of the compass housing.
Step 5: Add the grid/magnetic angle to convert the magnetic bearing to a grid bearing, and then rotate the circular bezel so that this new value now lines up with the index line.
Note: The grid/magnetic angle will be stated on any good topographic map. It is positive where magnetic north is east of grid north, and negative where magnetic north is west of grid north. Keep in mind that adding a negative grid/magnetic angle will actually decrease your bearing. Check out this post for more information on adjusting for the grid magnetic angle.

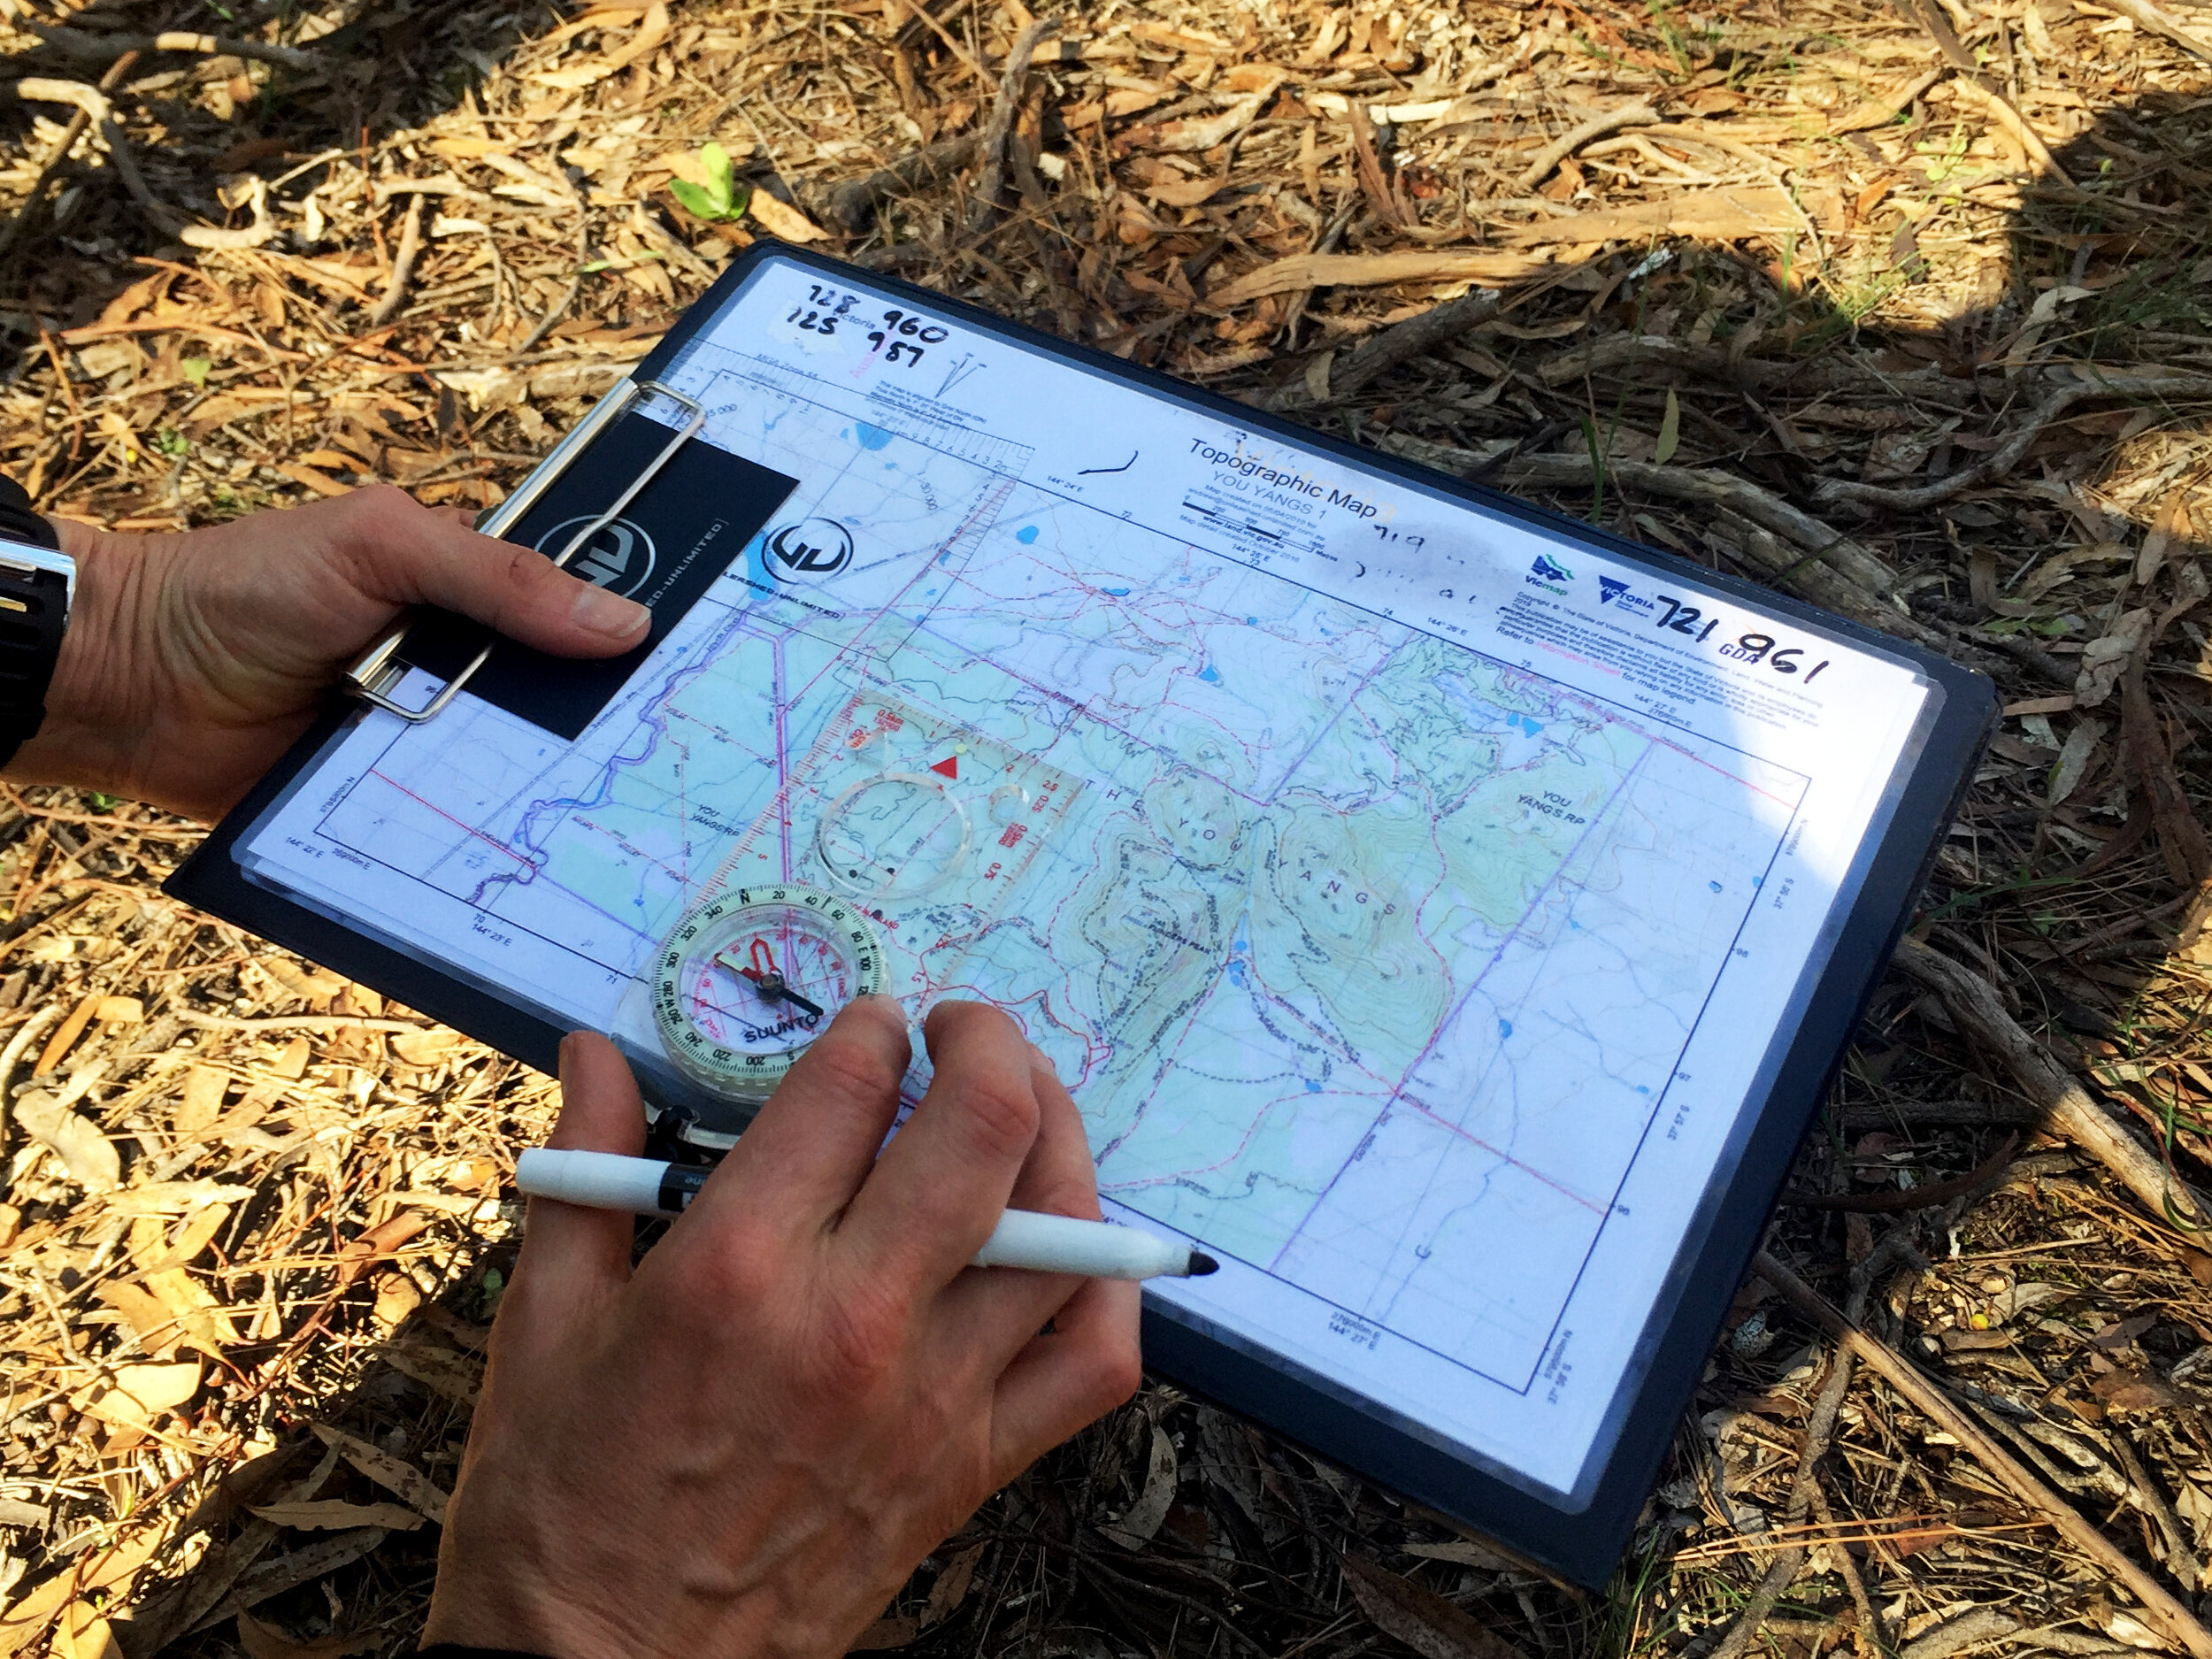
Now you’re ready to see where you are on the map (note that at this stage the magnetic needle of the compass is no longer relevant)
Step 6: Place the compass on the map, positioning a forward corner of the baseplate at the location of the chosen landmark. Ensure you align the orienting lines of the compass with the vertical north-south grid lines of the map, and that the red orienting arrow is pointing towards north on the map.
Step 7: Now draw a line from the chosen landmark back along the long edge of the baseplate.
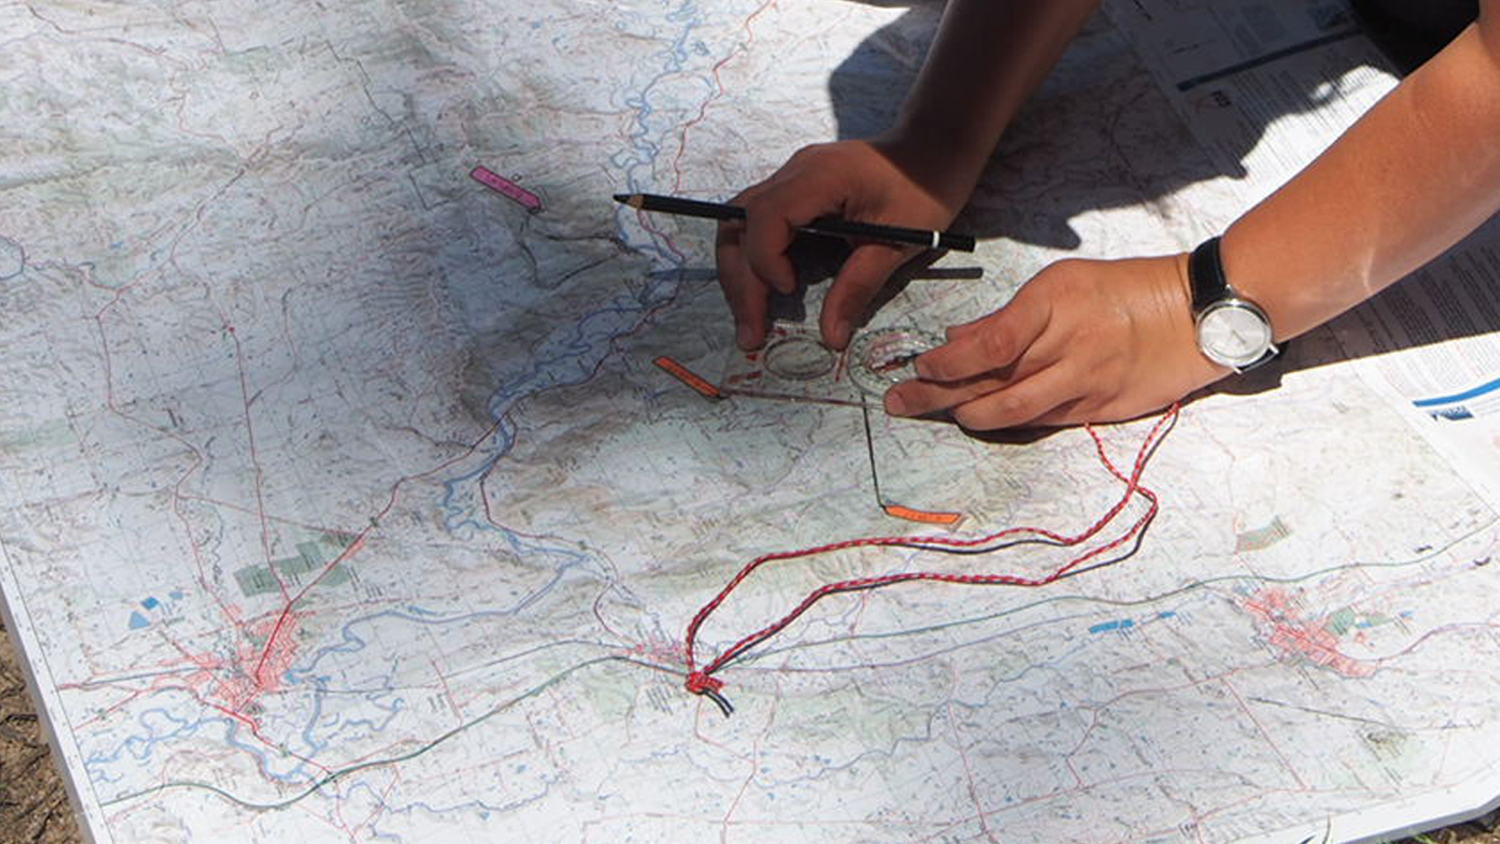
Now repeat Steps 1 to 7 two more times so that you have drawn three intersecting lines on the map. Your location is within the triangle created by these lines.
Note: In situations when you know you are located somewhere along a linear feature (such as a ridge, road or watercourse), it may be enough to take the bearing of only one landmark. Your location may then be determined as where your bearing intersects with the feature you are on.
The size of the triangle created by three bearings represents the amount of error introduced with each bearing taken, and is thus often termed the ‘Triangle of Error’. The more accurate each bearing you take is, the smaller the triangle will be, and the more accurately you can pinpoint your location.
Want to head out on the trails this season, but don't have the confidence to find your way? Join in on one of our Essentials of Navigation Courses.


For the serious athlete, this ultra-tough adventure course has been inspired by the gruelling SAS Selection and is designed to test your mettle.
Click here for details.